Zie voor het recept http://siegurd.adamsyoung.nl/paardenbloem-jam
Showing posts with label food. Show all posts
Sunday, April 15, 2012
Saturday, March 17, 2012
Making birch syrop - part 2
After you collected the syrup, it's time to boiled. Put the birch sap in a large pan and bring it to boiling point. This is 10 liters.
After a few hours the sap will be reduced to 6 liters.
Put the gas lower because if you boil it to hard then the sugars will burn and you will have a bitter burned taste. After 5 hours the juice is reduced to just 1 liter.
Go on until you have only 400 ml over. Filter the sap two times and place the sap, almost syrop, in al smaller pan and simmer it to just 100 ml. As you see it's not a lucrative business but it's a very tasteful.
Friday, March 16, 2012
Making birch syrop - part 1
Between march and april (before the tree got leaves), the birch trees got the most of sap and sugar. Making birch syrop is very easy and it's not causing problems to the trees. In Canada and Amerika they extract birch sap from a long time.
First of all you need birch trees. Second you need a bottle or jerrycan, a tube and maybe some rope. Beside you need a knife but with a drill is faster and better for the tree.
Make a hole, just 1,5 cm deep. You need to be in the Cambium of the tree. Make a round and nice hole. Place the tube into it and assure yourself that the sap only run through the tube.
Place the bottle. I prefer to put the bottle on the ground. It's easier and quicker. As you see I have made a hole in the cap. If you do so assure yourself to make a small hole as well so that the air can go out.
If you place the bottle in the evening then it will be full in the morning. When you are ready, cut a nice piece of wood slightly bigger then the hole. Make a blunt point and hit it into the hole. Don't use wood from the ground because there is to many bacteries on it and it's dangerous for the tree.
Monday, February 13, 2012
WEBSITE IS ONLINE!!!
The website is renewed and online!
It took a while and I've not finished placing all the articles but it's a start and I hope you'll enjoy!
For now only the Dutch version is online, but you can use the Google translator. Later I will translate the text in English, but it will not be this year.
For all the dutch people, if you find something incorrect, if you suggestions, please let me know!
Enjoy!
www.siegurd.nl
Saturday, November 5, 2011
Making tortelloni with ricotta, penny bun and walnuts
After drying the penny buns I decided to make something very succulent with it. I've lived for 18 years in Italy and making pasta is one of the things everybody can. So this recipe is one of my favourite and normally I don't add the mushrooms but I thought it will be nice and an extra great flavour to the dish.
The pasta for the tortelloni (big tortellini) is very easy to made but requires some strength and work. It's made form 200 gr of flour, 1 whole egg and 3 egg yolks. Knead together well for about 15 - 20 minutes. Wrap in foil and let rest for about 20 minutes in the fridge.
Make the filling. Add ricotta, fine crushed walnuts, fresh Parmesan cheese, salt, peper and the fine chopped and soaked penny buns together and stir. Taste and if it's good add 1 egg.
Make the tortellini as shown in the pictures and cook for about 2 minutes. Serve with a walnuts and sage butter sauce.
Use a pastamachine
Remove rounds from the pasta
Put some filling on it
Fold them and be sure to remove all the air from the inside
This is the way to make tortellini: hold it like that
Squeeze a little bit
turn the pasta around your finger
push the ends together
Ready to be cooked!!
Friday, November 4, 2011
Drying Penny Bun
This week I found two beautiful big Penny Buns (Boletus Edulis) and now they are drying outside.
The best way for drying mushrooms is to cut them in thin slices and then lace them up on a string and put them in the dry air outside. You can also put the mushrooms in a 100 degrees oven for about 2 hours.
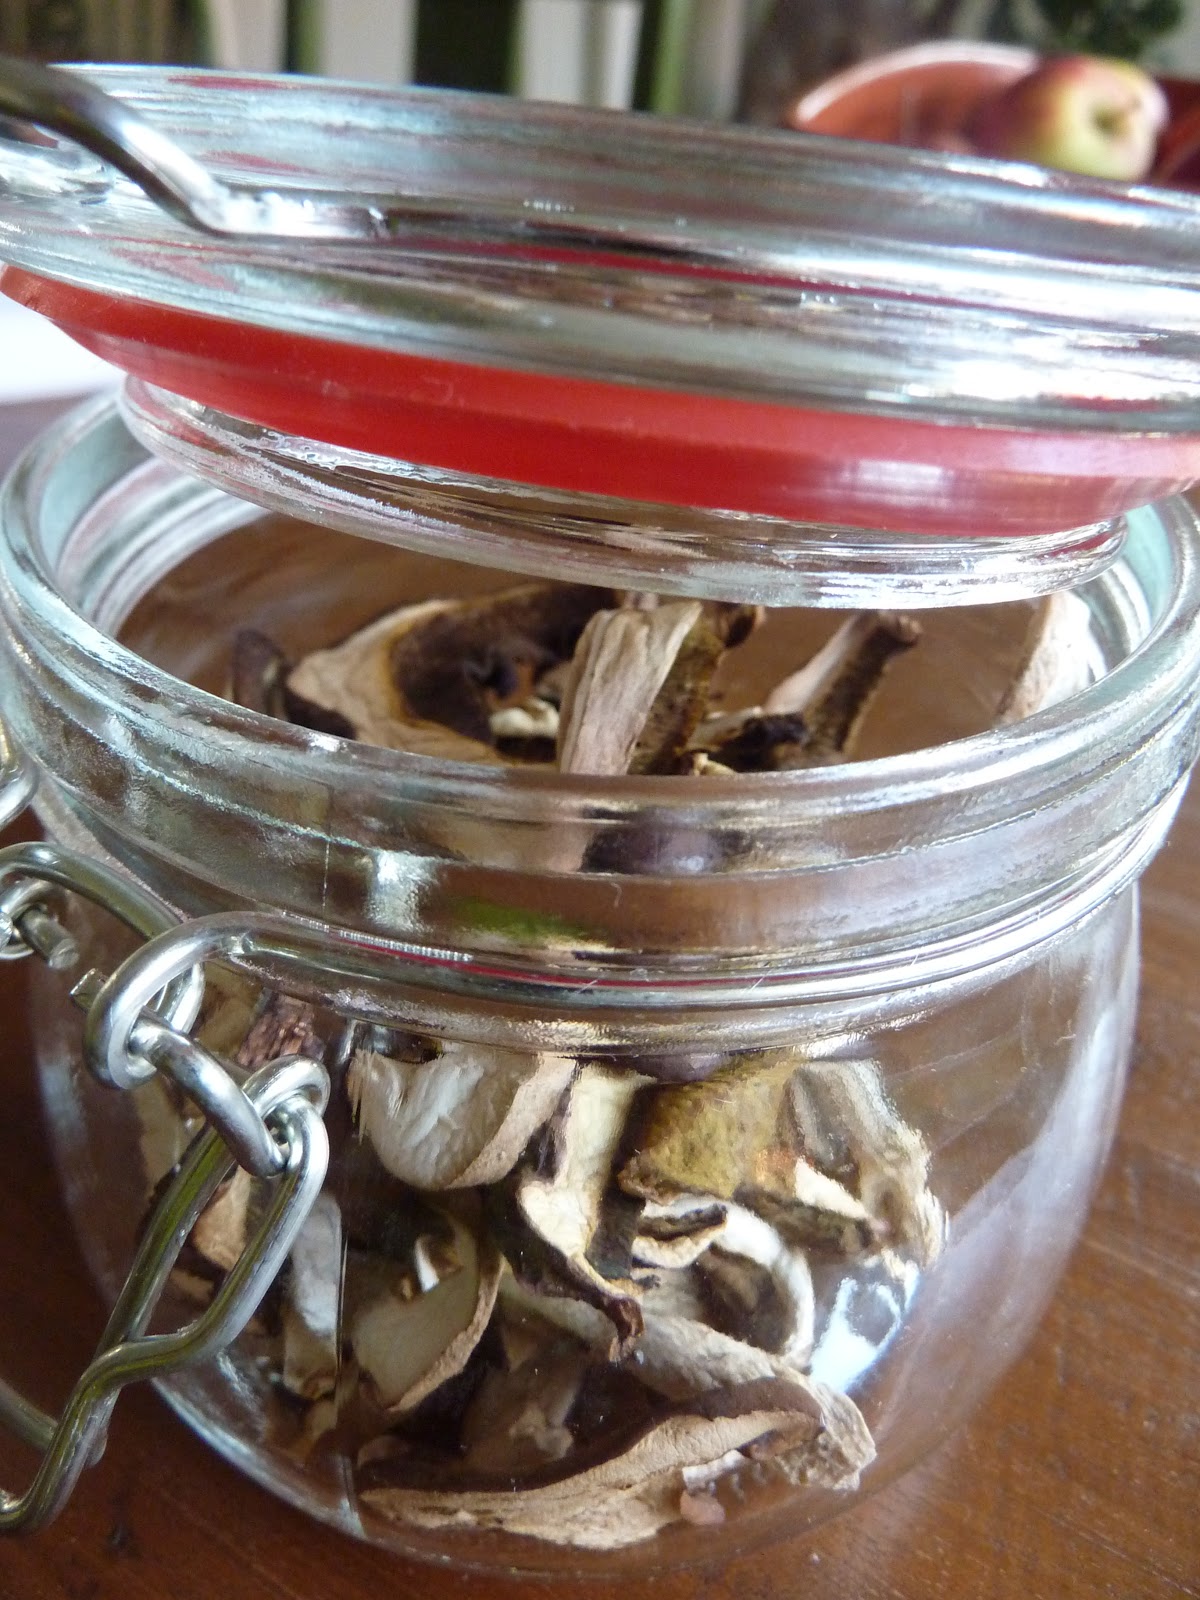
After that you have to put the dried mushrooms in a clean jar and closed well and this is the result and it smells heavenly!!!
Tuesday, October 4, 2011
Delicious appelcake with Dutch Oven
(This recipe is written in Dutch and translated with Google translator, that is much more faster for me. I'm sorry for errors but I hope you'll understand. I think that the result will taste no less!)
Ingredients:
- 200 grams flour
- 150 grams butter
- 125 grams granulated sugar
- 0.5 vanilla baking powder
- 3 eggs
- 4 (sour) apples
- 100 grams raisins
- 2 spoons lemon juice
Preparation:
Start by making a fire. It works best with briquettes, but Charcoal also works well if you keep a little eye and supplements where needed. I usually do this after a BBQ. Briquettes remain a long afterglow and there are ideal for a Dutch Oven to set up. You don't need to preheat the Dutch Oven like a conventional oven.
Put the raisins for 15 minutes in hot water. Cut the apples in large pieces and place them in the Dutch Oven. Squeeze the juice from half a lemon over the apples and add the raisins. Sprinkle some sugar over the apple / raisin mixture and add a few cubes of butter (25 grams).
Place the Dutch Oven on a few briquettes and close the lid. Place the apples in the Dutch Oven.
Place 6-7 briquettes on the lid. The Dutch Oven is building in this way a uniform heat to the inside and apples will be heated.We will make now the batter.
Place butter and sugar in a bowl and knead with your fingers into the butter sugar by squeezing.
If it is a homogeneous paste place the eggs one by one and whisk the batter until it all is well mixed. Do that with a strong beat movement.
Add the baking powder to the flour and sieve the whole in the batter. Mix together well.
It should be soft and smooth batter.
Open the lid of the Dutch Oven and spread the batter over the apples until everything is covered. You should hear the already delicious apples sizzling!
Place the lid on the pan and cover it almost entirely with bricks (approx. 20 pieces). Bake in 40 to 45 minutes.Turn the lid a quarter turn every 10 minutes to avoid hot spots occur in some places and the cake will burn.
Check the pie after 30 minutes. Prick occasionally with a clean skewer to see if the cake is cooked.
Delicious with vanilla ice cream. Enjoy!
For step by step pictures, see here
Saturday, October 1, 2011
Drying Mushrooms
After a great day of Mushroom foraging, I had great collection of Ceps (Boletud Edulis).
Ceps are the best dried and used in meals like risotto and that's what we eat very often.
So I've cleaned the Ceps very carefully and checked if there was larvae by cutting the mushroom in half from top to base. Then you have to cut the mushrooms in thin slices and place them on baking paper.
Put the tray in a preheated oven (50 degrees) and dry the mushrooms for about 5 hours. Don't forget to put something between the oven door to help the moisture escape.
If the mushrooms are a little bit crunch but flexibel inside, put them in a clean jar and place the jar in a storage room. Enjoy!
www.siegurd.nl
Sunday, August 28, 2011
Recipe: Cauliflower Fungus on toast
What a great mushroom is this! Looks beautiful, taste great!
Ingredients (for 1 person):
- 1 Cauliflower Fungus (10x10 cm)
- 1 clove garlic
- Dash of olive oil
- Small knob of butter
- salt
- pepper
- Fresh flat-leaf parsley for the garnish
- 2 slices of brown bread
Preparation:
This fungus is very nice but you should choose one that is still young and strong and not become brown.
Cut into 1 cm slices and wash it very good because lots of ground, insects and grass remains in it. Dep everything dry.
Add oil and butter to the pan and let it warm up.
Chop the garlic finely and add to the oil and butter. Do not let it brown.
Add the Cauliflower Fungus and cook well on both sides. Add salt and pepper.
Grill two slices of bread in olive oil.
Garnish bread with mushrooms and fresh cut parsley.
Enjoy!
See all the pictures step-by-step on the website: http://www.siegurd.nl/bushcraft/voedsel/voedsel_groenten_paddenstoel03.html
Monday, August 15, 2011
Recipe: Chantarel and Pied-de-Mouton on toast
One of the most satisfying things for me is finding edible mushrooms, and prepare them in a variety of tasty dishes. I prefer to prepare them without much additions because the mushrooms have lots of flavour of them self.
Below such a simple dish with much of taste.
Ingredients (for 1 person):
- Handful of Chanterelles
- Handful of Pied-de-Mouton
- 1 garlic clove
- Dash of olive oil
- Butter
- Salt
- Fresh flat-leaf parsley for garnish
- 2 slices of bread / bannock
Preparation:
Close your eyes and imagine yourself in a beautiful forest with a crackling fire! Weather was not on my side today but apart from the stove, pretend I'm outside.
See all the pictures step-by-step on the website: http://www.siegurd.nl/bushcraft/voedsel/voedsel_groenten_paddenstoel01.html
Below such a simple dish with much of taste.
Ingredients (for 1 person):
- Handful of Chanterelles
- Handful of Pied-de-Mouton
- 1 garlic clove
- Dash of olive oil
- Butter
- Salt
- Fresh flat-leaf parsley for garnish
- 2 slices of bread / bannock
Preparation:
Close your eyes and imagine yourself in a beautiful forest with a crackling fire! Weather was not on my side today but apart from the stove, pretend I'm outside.
- Add oil and butter to the hot pan.
- Chop the garlic finely and add to the oil and butter. Do not let it brown.
- Add 30 seconds after the mushrooms and cook for 5 minutes. Add some salt.
- Grill 2 slices of grilled bread / bannock in some olive oil.
- Garnish bread with mushrooms and fresh cut parsley.
See all the pictures step-by-step on the website: http://www.siegurd.nl/bushcraft/voedsel/voedsel_groenten_paddenstoel01.html
Monday, July 4, 2011
Update website - Stap voor stap een gerezen en gekruide bannock maken
Twee nieuwe gerechten toegevoegd aan de website:
>Zie hier het recept
Eet smakelijk... oh ja, als je er één hebt gemaakt ben ik benieuwd naar het resultaat!
Gerezen Bannock
>Zie hier het recept
Kruiden Bannock
>Zie hier het recept
Eet smakelijk... oh ja, als je er één hebt gemaakt ben ik benieuwd naar het resultaat!
Tuesday, June 21, 2011
Update website - Stap voor stap een gepofte banaan met chocola maken
Ik ben geen toetjes fanaat maar voor gepofte banaan met chocola kun je mij wakker maken.
Een supereenvoudig gerecht maar een van de meest geschikte kampvuur gerechten ooit!
Smullen maar...
> Zie hier voor het recept
Update website - Stap voor stap een gepofte aardappel met spek maken
Weer een lekker gerecht geüploaded, speciaal voor op het kampvuur. Er zijn weinig dingen zo lekker als een gepofte aardappel dat rechtstreeks uit de kolen gehaald wordt en dat heerlijk zacht is geworden en nog een beetje naar verbrande kolen smaakt! Met spek, uien en kruiden is de aardappel helemaal af!
> Zie hier voor het recept
Sunday, June 19, 2011
Update website - Stap voor stap een bannock maken
Vandaag een bannock gemaakt en stap voor stap uitgelegd hoe je dat maakt. Lekker eenvoudig gerecht dat onlosmakelijk staat van survival en Bushcraft.
Zie hier op de website!
Tuesday, April 12, 2011
Dandelion Jam/Paardebloem Jam
This morning I had breakfast with toast and my own made Dandelion jam... very nice!
The jam is sweet and soft with a characteristic bitterness of the Dandelion, great on grilled toast! The jam is not only very tasty but also very healthy!
Ingredients: 400 dandelion flowers* (no stems and green parts) - 2 oranges and 2 lemons untreated - sugar (no gelling!)
*100 flowers = 90 gr to 100 gr.
Cut the oranges and lemons into thin slices.Put the fruit in 1.5 liters of cold water with the previously washed and well pressed dandelion flowers. Bring to boil and cook for 1 hour. Let rest (infuse) for 12 hours. Filter, weigh and add an equal weight of sugar. Return to cook for about 45 minutes until the consistency of liquid honey. Do not hesitate to continue cooking according to the amount of preparation. Put in jars!
Sunday, April 10, 2011
Today on the menu!
Springtime is a fascinating period of the year for all nature lovers and Bushcrafters. All kind of plants are coming up and mostly of them are succulent when young.
Today I've picked a bag of Dandelions flowers and young nettle leaves. With the Dandelions I will make some very nice and sweet jam.
With the nettle I will make a pasta sauce for today. Just pick the top young leaves, wash them, bake some bacon add the nettle and some cream... hmmmmm!
Today I've picked a bag of Dandelions flowers and young nettle leaves. With the Dandelions I will make some very nice and sweet jam.
With the nettle I will make a pasta sauce for today. Just pick the top young leaves, wash them, bake some bacon add the nettle and some cream... hmmmmm!
Saturday, September 4, 2010
Penny Bun/Porcino/Eekhoorntjesbrood
Today I gave a GPS course in the woods and while the participants where practicing, I found a very nice cep/penny bun. From monday I will leave for a Bushcraft trip to Scotland that I give and I hope we will find lots of ceps in the woods because I love ceps with a little bit of vinagre, olive oil and a nice piece of meat!
Subscribe to:
Posts (Atom)